Explorer view
The purpose of this view is to show all the available scans referenced by the same SLO image and explore them without selecting them form the Series list.
You can explore all of the scans available for the eye on the same reference image.
The Explorer view displaying the SLO image can influence other views in the selected Study Layout by populating them with referenced OCT volumetric or line scans.
Working with the Explorer view
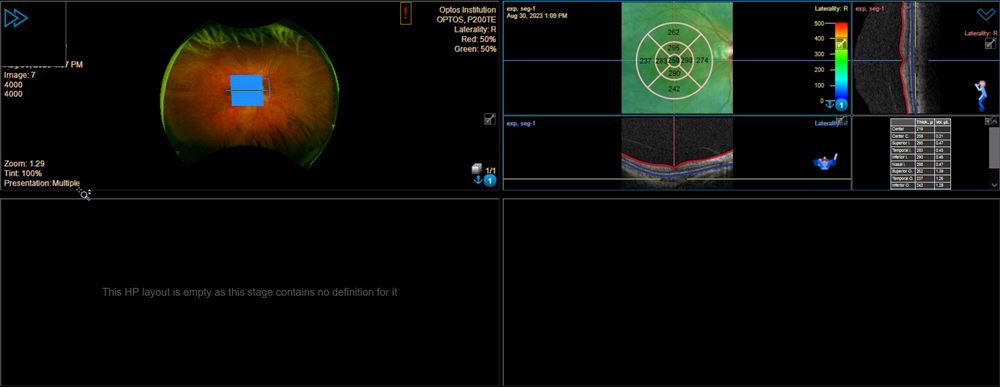
The following example uses a 2x2 study layout where the top left viewport is an Explorer view.
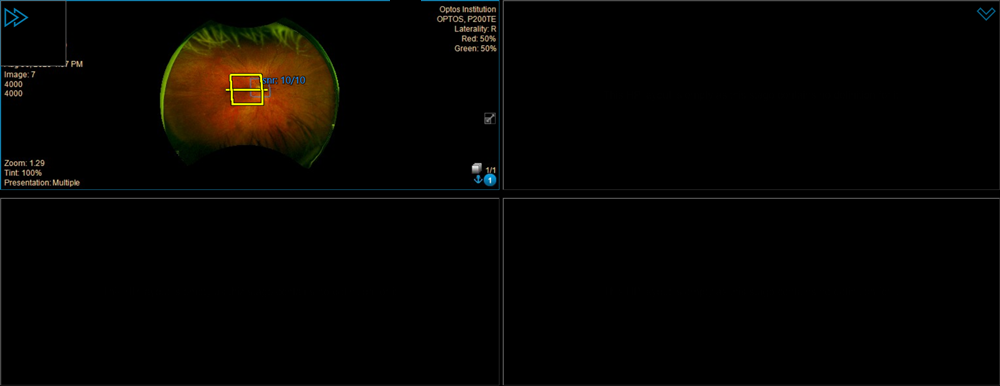
The Explorer view provides the following possibilities:
-
Hover over a scan area on the SLO viewport to display the scan metadata, such as signal-to-noise ratio (snr), Scan Position error, and Averaging, if available.
-
In the SLO viewport, move the mouse outside the currently selected scan area and scroll up or down with the mouse wheel to switch between the available SLO images.
-
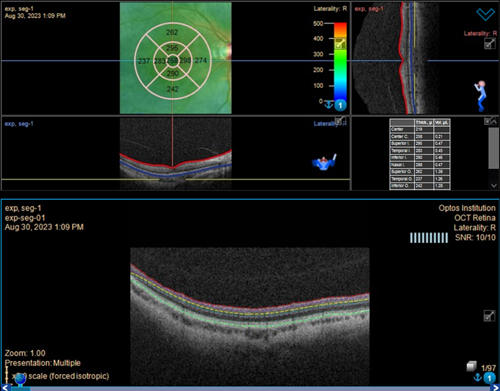
To toggle the OCT viewport, on the side panel, select Tools - OCT Viewport
 . The OCT viewport is displayed to the right of the SLO image.
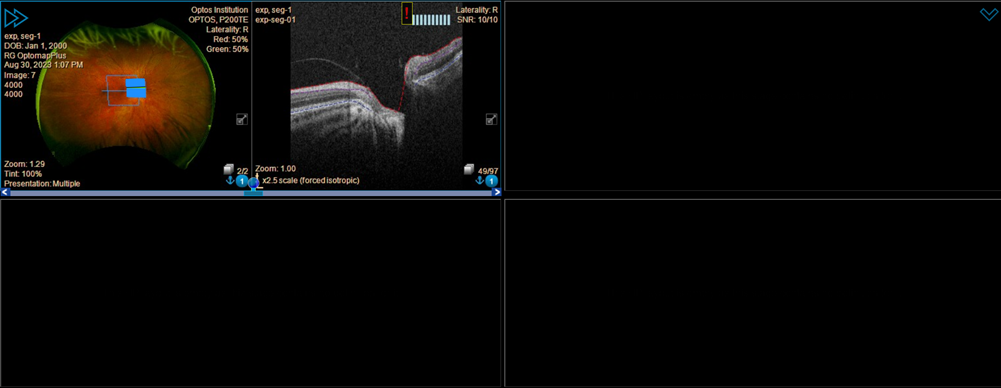
-
Click on any of the scans to display it in the OCT viewport. Use the mouse wheel to scroll through the selected OCT scan within the OCT viewport or within the selected scan area on the SLO image. The green line in the SLO viewport represents the current OCT frame in the OCT viewport.
-
To hide the OCT viewport, on the side panel, select Tools - OCT Viewport
again. Note
To hide the OCT Viewport button from the Tools menu, specify Oct Viewport will not be displayed in the Protocol Layouts section of the used Hanging Protocol.
-
-
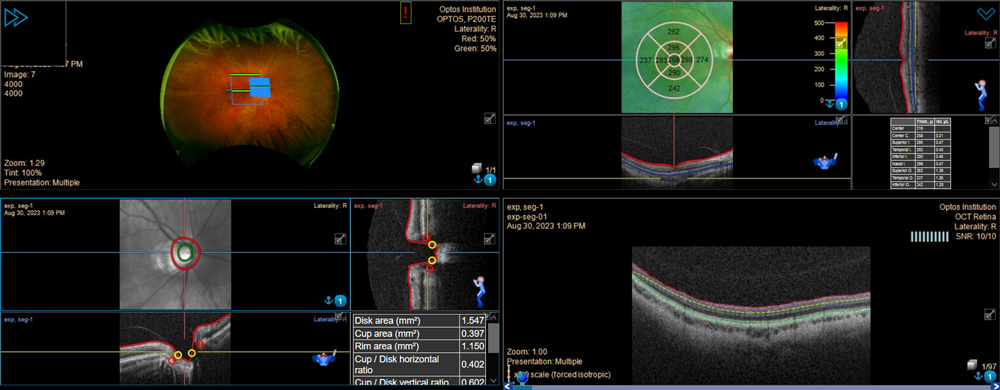
In the SLO image, select a scan and drag it to an arbitrary view:
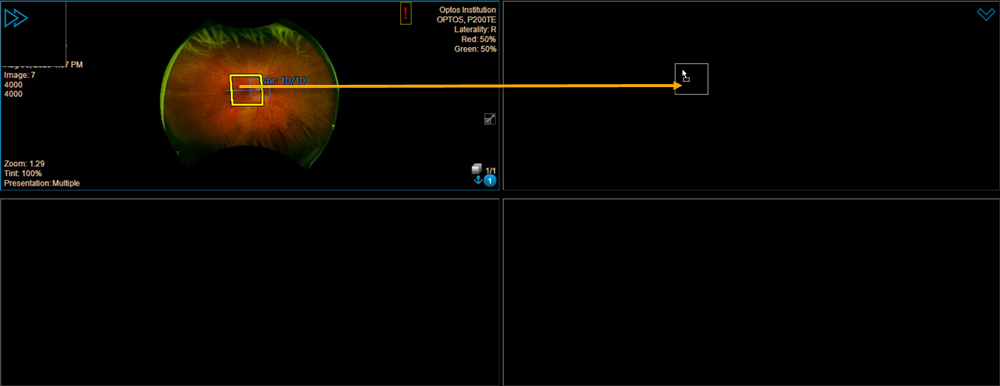
The scan is displayed in the most appropriate view, in this case the Retina view.
-
Drag the same scan to different view. To switch the view, on the toolbar, click View and then select one of the available views. This allows you to explore the same scan in different views:
-
-
Use the mouse wheel to scroll through the selected scan within the view. The green line in the SLO viewport represents the current selection and adjusts as you scroll.

-
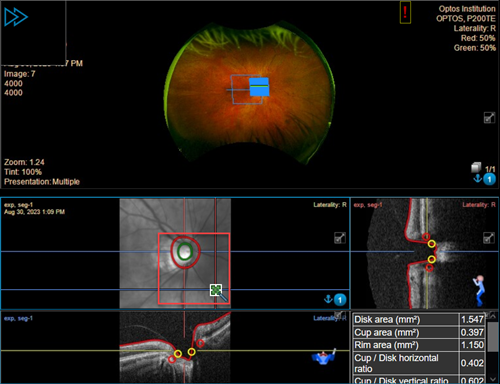
Drag another scan to a different view:
-
Move the current slice to another position by dragging it with the mouse. The green line in the SLO scrolls to the closest slice.
-
-
To better see the reference lines as you scroll, use the Smart Zoom feature:

Note
If you drag a scan into a view in which a scan is already displayed, for example in the 2D view, this view is retained. If the scan is incompatible with the current view, it switches to the scan's default view.
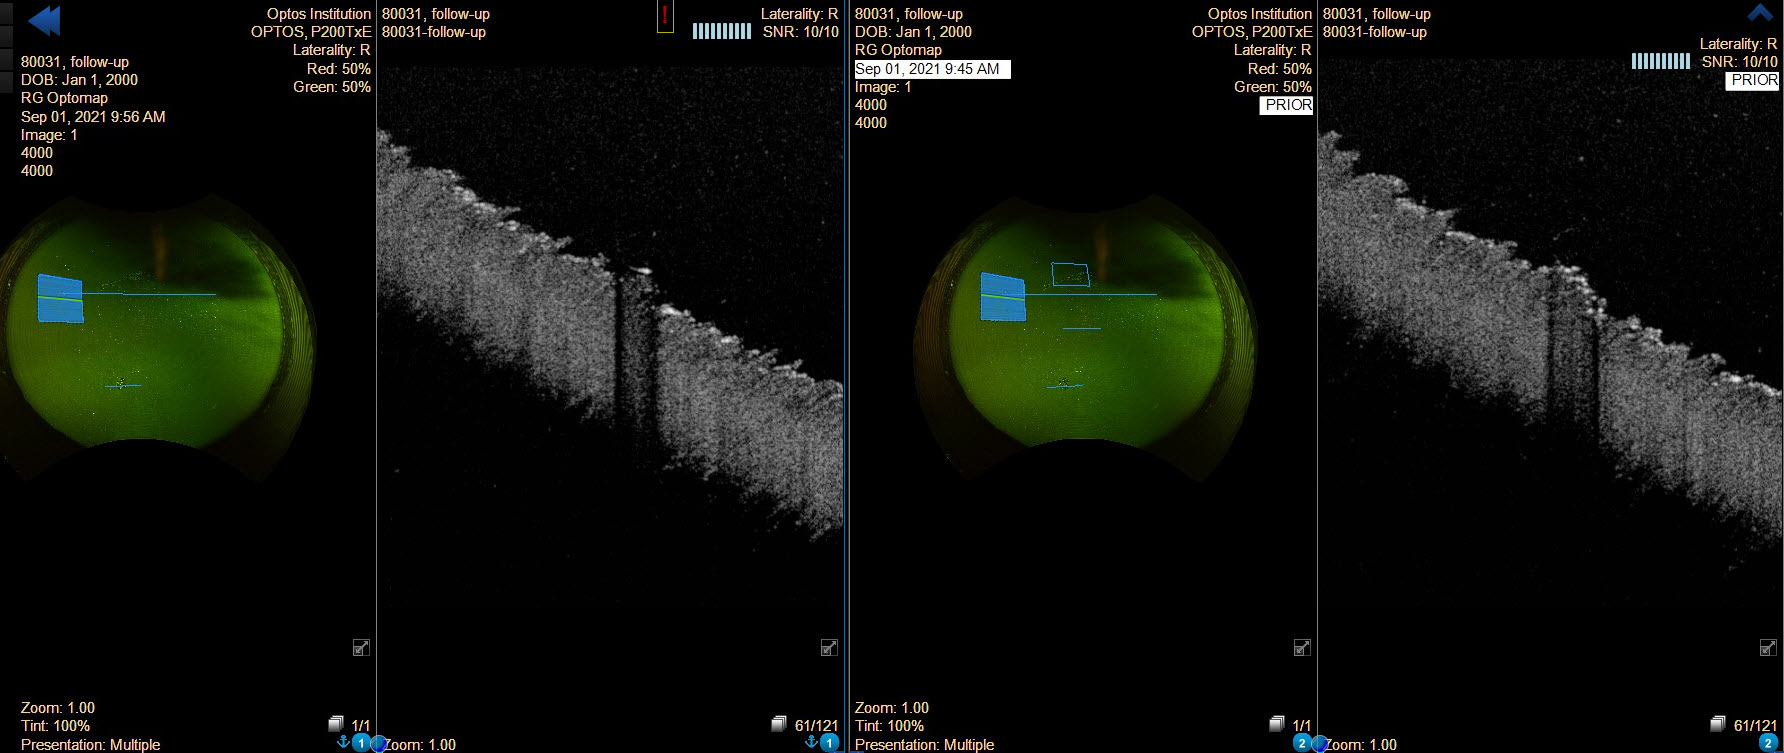
Explorer linked view
When you open a study that contains priors and follow-up scans, the Explorer view may associate a follow up with a corresponding prior scan. In this case, the view can provide the possibility to automatically select and scroll through the linked series in a synchronized manner:
-
On the toolbar, select Link
 .
. -
Select a scan area or a line in the current (follow-up) or prior SLO viewport that has a corresponding scan in the other study.
The other study automatically switches to the corresponding OCT scan. -
Scroll with the mouse wheel through a follow-up or a prior OCT scan.
The corresponding OCT scan in the other study is updated synchronously.